Provisioning Manager
Local Application on the Provisioning Server
Accessing Provisioning Manager
Provisioning Manager is a Windows Application located on the Provisioning Server. The Provisioning Manager should be pinned to your start menu with the below item
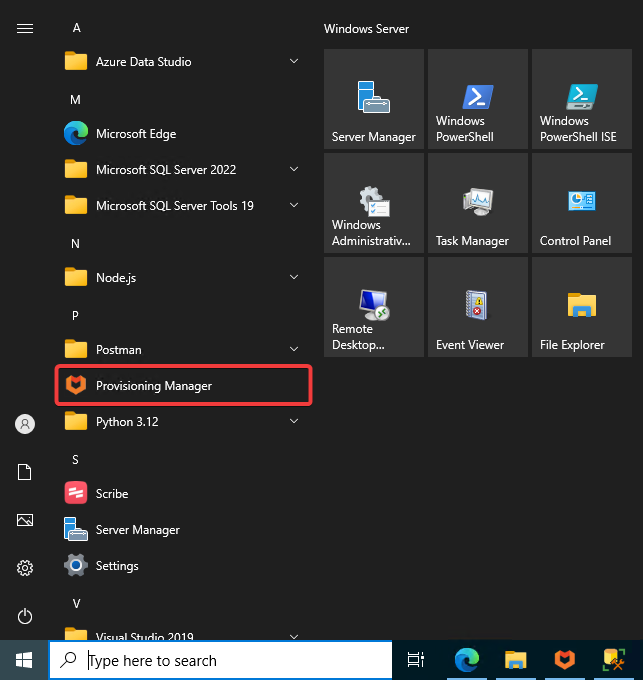
If Provisioning Manager it is not pinned to the start menu, it can be accessed via the below path
C:\Program Files\Automate101\Atria\Provisioning Manager\ProvisioningManager.exe
Rules
Rule Structure
Provisioning Rules are structured in a standarized manor to enable customisation and development
The Provisioning Engine Processes Requests from the interface. These are then managed internally to the platform via a Request System. This follows a process below
flowchart TD
    A[Request Received by Provisioning Engine]

    subgraph PreRequest[Pre Request]
        A1[Request type identified from message]
        A2[Send request to RequestType within the rules]
        A1 --> A2
    end

    subgraph PostRequest[Post Request]
        B1[Identify Message Type]
        B2[Process relevant rules for after the provisioning has completed i.e. Email Notifications]
        B1 --> B2
    end

    subgraph Response[Response]
        C1[Logging, Auditing, Statuses]
        C2[Additional rules ran if there is additional work to be done on the response of a request completion, i.e. cleaning up temp files]
        C1 --> C2
    end

    A --> PreRequest --> PostRequest --> Response
Within each of the main rules, there is an additional events structure depending on the type, which is shown below
flowchart LR
    A[Pre Provision] --> B[Provision] --> C[Post Provision]

    subgraph A [Pre Provision]
        A1[Before] --> A2[Main] --> A3[After]
    end

    subgraph B [Provision]
        B1[Before] --> B2[Main] --> B3[After]
    end

    subgraph C [Post Provision]
        C1[Before] --> C2[Main] --> C3[After]
    end
This is where customisations are available to be developed upon. Typically, customisations will be made in the 'Before' or 'After' events within the rules, as the 'Main' rules are subject to change by Automate101 as these are required functionalities within the services. Rules within the 'Main' can be changed, but they will be reverted back to standard once an upgrade is performed.
Before
Before events are ran before any work has been done within the specific rule set. This is primarily used to gather information that will be used within subsequent requests. I.e. if you are using external data, you will retrieve this here, or set variables that are used throughout the rest of the provisioning process.
Within the standard Atria rule set, we typically do not use the Before, and pass everything as needed before the request is retrieved by the provisioning engine.
Main
After
Events
Customer
User
Service
Provisioning Rule Values
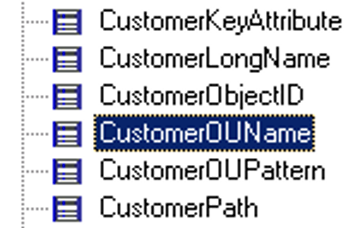
Basic Properties
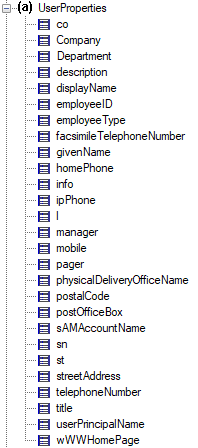
Array Properties
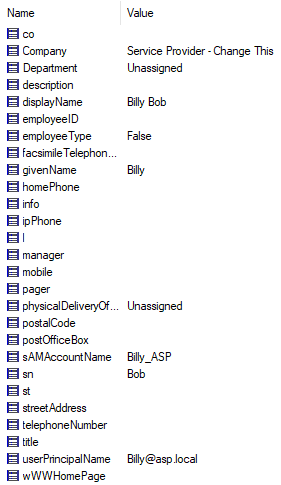
Hashtable Properties
Rule Configuration
Conditions
Actions
Atria has over 450+ Build in Actions. Typically, these are what we use within our services, but you are free to create new rules with any Action built in! Each Action has a set of parameters that is needed to run.
For certain actions such as PowerShell Script Execute, you can add as many variables as you like, these can either be hard coded or dynamic based on what is passed in for provisioning. You can also utilize actions such as 'PowerShell String Get' to get properties returned to be utilized within future rules.
Success Action
Error Action
RabbitMQ Queue
The Easiest way to create a journal queue is by going into the RabbitMQ Messaging UI - This URL has been configured on the Service Provider's end, so your URL may be different to the one below.
After logging in select the Queues Tab on the top menu
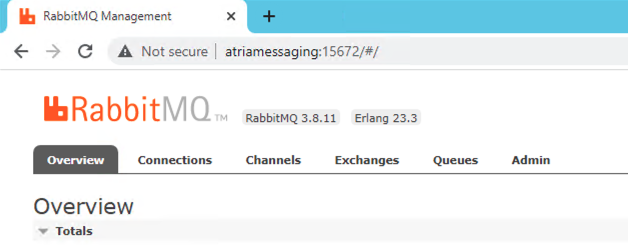
At the bottom of the page add a new queue. As a pattern we recommend using the base queue name plus _journal.
For this example, we are wanting to track ALL messages sent through the platform - So create the queue "Atria_Provisioning_PreRequest_journal" - All requests sent through Atria will pass through the PreRequest Queue, so we will bind the Journal to this queue.
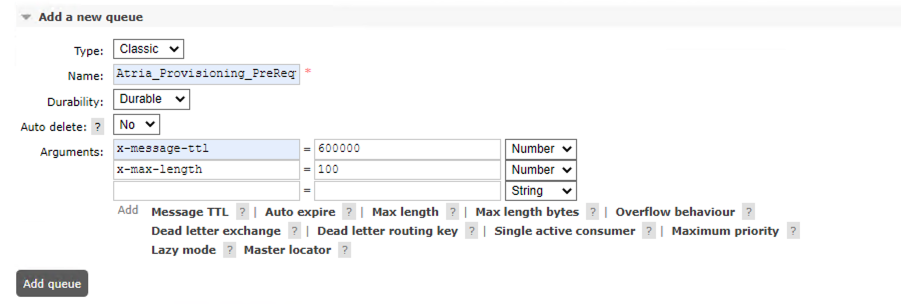
Note: Queues must end with "_journal" to appear in the provisioning manager UI.
x-message-ttl is optional and means messages automatically expire on that queue after a specified time in mili seconds. In this case 10 minutes. x-max-length means only the last N messages are kept on the queue as soon as message 101 arrives the first gets deleted.
You can specify both or none on the queue depending on your requirements. Once the queue is added find the queue in the list of queues and select it. In the bindings section add a binding to the exchange you want to capture messages from
For more information on additional arguments, please see the RabbitMQ Documentation - https://www.rabbitmq.com/docs/queues#optional-arguments

After clicking on bind send of a provisioning request and the request will appear on the journal queue.
You can test that this is functioning by scrolling down on the page and selecting "Get Message"
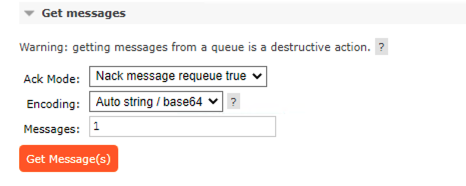
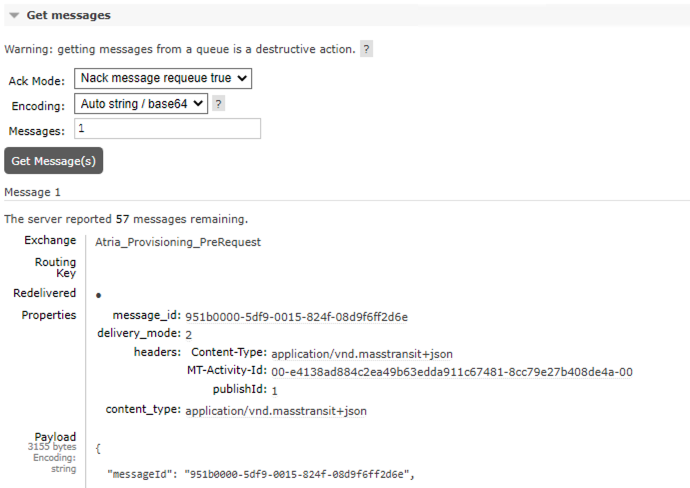
If this retrieves an encrypted message, then we know that the Journal queue is capturing requests.
Rule Management
This section is currently work-in-progress as we update our documentation. If you experience any issues or require help, please contact us at support@getatria.com.